 Tyagi
Tyagi
CapCut Video Editing Masterclass 2026: A to Z Complete Guide
Master professional video editing with CapCut. Detailed guide on 50+ tools, keyframe animation, velocity curve, chroma key, auto-captions, and 4K export settings.
- 1. CapCut Masterclass 2026 — Introduction & Workspace Layout
- 2. Timeline & Core Editing Tools (Basic Functions)
- 3. Speed Control & Velocity Editing (Speed Curves & Optical Flow)
- 4. Keyframe Animation (Keyframing Masterclass)
- 5. Masking, Cutouts, & Green Screen Removal (Chroma Key)
- 6. Sound Design, Noise Reduction, & Audio Effects
- 7. Text, Animated Titles, & Auto Captions
- 8. Color Correction & Cinematic Color Grading
- 9. 4K Export Settings (Highest Resolution)
- 10. Conclusion & Next Steps
1. CapCut Masterclass 2026 — Introduction & Workspace Layout
If you want to master professional video editing on mobile or PC, CapCut is undeniably the most versatile, powerful, and popular tool available today. Whether you are editing Instagram Reels, YouTube Shorts, vlogs, podcasts, or commercial advertisements — CapCut offers an exhaustive suite of advanced features.
This guide is not a generic summary; it is a Practical Masterclass detailing every single tool, menu, sub-feature, and workflow step in CapCut.
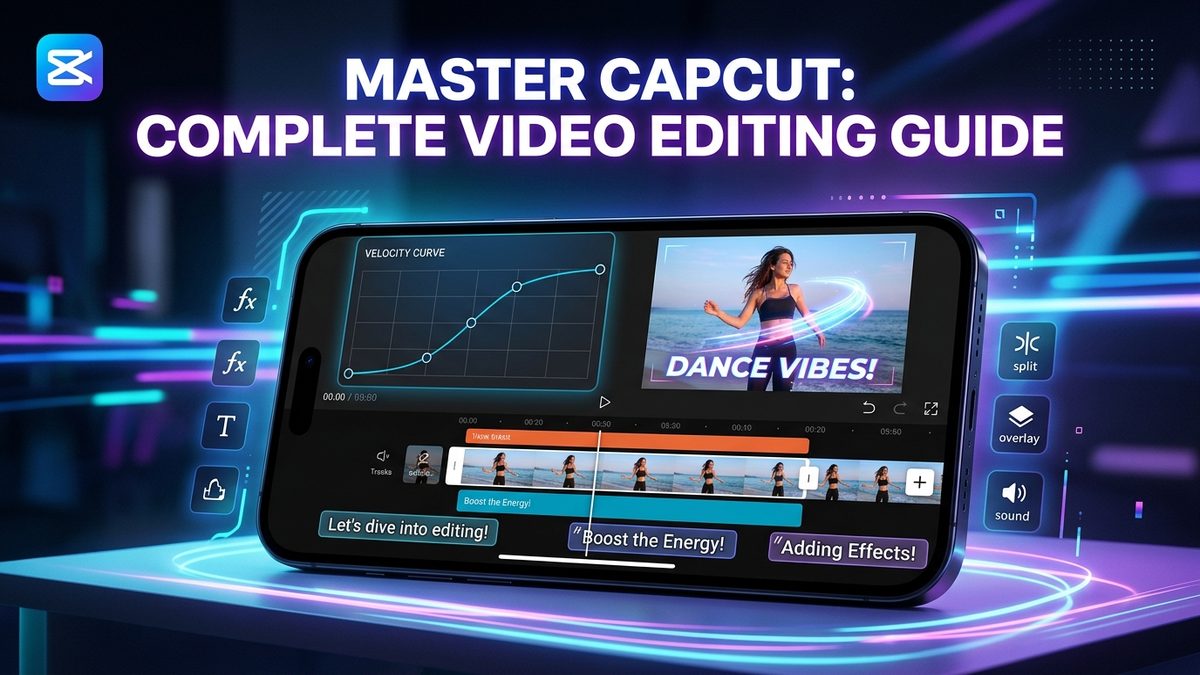
Understanding CapCut's Workspace Layout:
- Preview Window: Located at the top of the screen, displaying real-time video playback.
- Timeline Track: The central workspace where video clips, audio tracks, overlays, and captions are arranged in layers.
- Playhead (Red/White Line): The vertical indicator on the timeline showing the exact frame currently being previewed.
- Main Toolbar: Located at the bottom (Edit, Audio, Text, Overlay, Effects, Ratio, Filters, Adjust, Canvas).
2. Timeline & Core Editing Tools (Basic Functions)
Tapping on any video clip on the timeline unlocks the Edit Menu. Here is a breakdown of every essential tool:
1. Split (Cutting Clips)
Position the playhead over the desired frame and press 'Split' to divide a clip into two separate segments. Delete unwanted segments easily.
2. Trim & Crop
Drag the clip handles left or right to adjust length. Use the 'Crop' tool to reframe or eliminate unwanted background elements.
3. Volume Control
Adjust original video audio from 0% up to 1000%. Set native video volume to 0% when layering external voiceovers or background music.
4. Rotate & Mirror
Rotate clips at 90°, 180°, or 270° angles. Use 'Mirror' to horizontally flip video orientation seamlessly.
5. Reverse Playback
Play video clips backwards. Excellent for magic tricks, falling water, and creative action sequences in viral reels.
6. Freeze Frame
Capture a single video frame and extend it as a 3-second still image on the timeline for dramatic cinematic pauses.
3. Speed Control & Velocity Editing (Speed Curves & Optical Flow)
Creating dynamic speed ramps where video seamlessly accelerates and slows down is known as Velocity Editing. CapCut provides two speed control modes:
A) Normal Speed Mode
Applies uniform speed changes across an entire clip, ranging from 0.1x slow-motion up to 100x fast-forward.
B) Curve Speed Mode (Velocity Curves)
Selecting 'Curve' unlocks advanced speed ramping presets and custom controls:
- Montage Pre-set: Creates dramatic speed bursts ideal for sports and action footage.
- Hero / Bullet Time: Plays video at normal speed, drops into extreme slow-mo, then speeds back up.
- Custom Curve Edit: Adjust 5 custom key-points up or down along a graph to match your music beats. Moving points upward accelerates playback; moving points downward slows it.
When slowing videos down significantly (e.g., 0.2x or 0.1x), playback can stutter due to missing frames. Fix this by navigating to Speed -> Normal -> Make it Smoother -> Optical Flow. CapCut's AI generates synthetic intermediate frames, rendering smooth 60fps slow-motion!
4. Keyframe Animation (Keyframing Masterclass)
Keyframing is the single most powerful technique in video editing. Represented by the small diamond icon Keyframe (+◆) near the play button, keyframing allows you to animate position, scale, rotation, and opacity over time.
Step-by-Step Keyframing Workflow:
- Position the playhead at the frame where you want your animation to start.
- Tap the **+◆ (Diamond Icon)**. A diamond marker will appear on the timeline clip.
- Move the playhead forward in time to where the animation should conclude.
- On the preview screen, zoom in, rotate, or pan your video clip. CapCut automatically generates a second keyframe.
- Play the video back to see smooth, automated motion between keyframe points!
1. Sliding text or graphic overlays smoothly across the screen.
2. Creating slow, subtle zoom-ins on talking-head videos to boost viewer engagement.
3. Creating custom fade-in/fade-out transitions by keyframing opacity from 0% to 100%.
5. Masking, Cutouts, & Green Screen Removal (Chroma Key)
A) Cutout & Background Removal
CapCut offers 3 distinct background removal workflows:
- Auto Cutout: Automatically isolates human subjects and removes background in 1 tap without needing a green screen.
- Chroma Key: Use the 'Color Picker' to isolate green or any solid background color, then tweak 'Intensity' and 'Shadow' sliders for clean keying.
- Custom Cutout (Brush Tool): Manually paint over specific elements you wish to cut out.
B) Masking Tools
Masks allow you to hide or reveal specific sections of a video layer:
Linear Mask
Divides the screen with a straight line. Commonly used for clone effects and before-and-after comparisons.
Circle Mask
Creates a circular window around facecam footage for gaming walkthroughs and reaction videos.
Filmstrip & Rectangle
Used to construct cinematic black letterbox bars and rectangular video frames.
6. Sound Design, Noise Reduction, & Audio Effects
Audio accounts for 50% of viewer retention. CapCut includes a robust Audio Menu:
- Extract Audio: Separate MP3 audio tracks directly from imported video clips.
- Auto Beats (Beat Syncing): Automatically places yellow markers on music beats to guide precise video cuts.
- Noise Reduction: Removes background hum, fan noise, and wind with a single click.
- Voice Effects: Transform voiceovers into Deep, Chipmunk, Robot, Echo, or Mic acoustics.
- Fade In / Fade Out: Smooth out audio starts and finishes to eliminate harsh audio pops.
7. Text, Animated Titles, & Auto Captions
Over 70% of viewers watch short-form video on mute. Captions are vital for high retention:
1. Navigate to Text -> Auto Captions on the toolbar.
2. Select your spoken audio language.
3. Tap **"Start"**. CapCut generates accurate subtitles in seconds.
4. Use **"Batch Edit"** to review and correct spellings.
5. Customize fonts, shadows, text glows, and word-by-word kinetic animations under **"Style"**!
8. Color Correction & Cinematic Color Grading
Give your footage a rich, professional look using the Adjust Menu:
| Tool Name | Function & Usage | Recommended Value |
|---|---|---|
| Brightness / Contrast | Controls exposure balance and dark contrast levels | Contrast +5 to +15 |
| Saturation / Vibrance | Enhances color intensity without clipping skin tones | Vibrance +10 to +20 |
| Sharpen | Adds fine detail and clarity to softer video footage | +15 to +30 |
| HSL Color Wheels | Isolates and alters specific hues (Red, Green, Blue, etc.) | Green Hue +30 for grass |
| Temperature (WB) | Adjusts warm (yellow) or cool (blue/cinematic) tones | -10 for cinematic cool |
9. 4K Export Settings (Highest Resolution)
When your edit is complete, tap the **1080p** resolution dropdown at the top right before exporting:
- Resolution: 1080p (Standard for Reels/Shorts) or 2K/4K (for high-end camera footage).
- Frame Rate: 30 fps (Standard) or 60 fps (for smooth slow-motion and action).
- Code Rate (Bitrate): High / Recommended (High bitrate prevents pixelation during compression).
- Smart HDR: Enable if your mobile device supports High Dynamic Range.
Tap the **Export Arrow** to save your video directly to your device gallery with zero watermarks!
10. Conclusion & Next Steps
CapCut is a complete mobile and desktop production studio. Practice keyframing, speed curves, and audio design to elevate your video editing skills to professional standards.
Discussion & Reviews
Tap stars to rate this page: